
Studio Photography: A Guide for Freelance Photographers in Portrait Photography
Studio photography is a widely popular genre in the field of portrait photography, offering freelance photographers endless creative opportunities. This comprehensive guide aims to equip aspiring and established photographers with essential knowledge and skills necessary to excel in studio settings. By exploring lighting techniques, composition strategies, and posing tips, this article will provide valuable insights into creating captivating portraits that effectively convey emotions and capture the essence of the subject.
To illustrate the significance of studio photography for freelance photographers, consider the following hypothetical scenario: Jane, a talented photographer specializing in outdoor shoots, recently received a request from a client who desired professional headshots against a clean backdrop. Realizing her lack of experience in studio setups, she was initially hesitant but saw it as an opportunity for growth. With determination, Jane delved into the world of studio photography by learning about different lighting systems, experimenting with various compositions, and practicing effective communication with models. Through persistence and dedication to honing her craft, she successfully delivered stunning headshots that not only satisfied her client’s expectations but also expanded her portfolio and opened doors to new clientele.
In order to thrive as a freelance photographer engaged in portrait photography within studio environments, mastering crucial aspects such as lighting techniques, composition strategies, and posing skills is imperative. This article seeks to provide practical tips and techniques that will help photographers achieve exceptional results in their studio portraits.
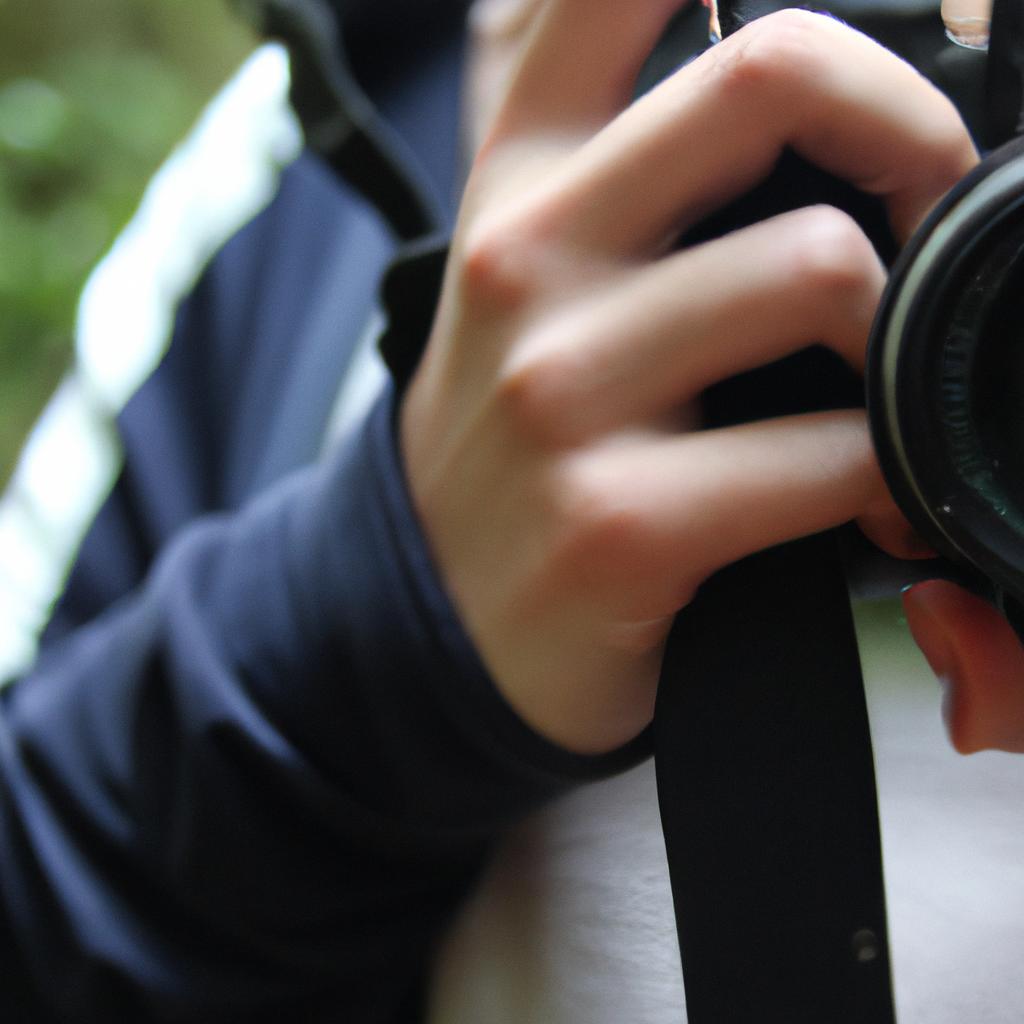
First and foremost, understanding lighting techniques is essential in creating impactful studio portraits. Studio lighting setups typically involve the use of artificial lights such as strobes or continuous lights. Learning how to control and manipulate these lights effectively can dramatically enhance the mood and quality of your images. Experimenting with different lighting positions, modifiers, and power settings will allow you to create various effects, ranging from soft and flattering to dramatic and edgy.
Composition plays a crucial role in the success of any photograph, and studio photography is no exception. Consider the placement of your subject within the frame, paying attention to elements such as lines, shapes, and negative space. Utilizing leading lines or framing techniques can draw attention to your subject while creating visual interest. Additionally, experimenting with different camera angles can add depth and dimension to your images.
Posing is another critical aspect of studio photography. Working closely with your models to achieve natural yet flattering poses is key to capturing their essence in a portrait. Providing clear direction and guidance throughout the shoot will help ensure that your subjects feel comfortable and at ease. Familiarize yourself with posing techniques specific to different body types and facial features, allowing you to bring out the best in each individual.
In addition to technical skills, effective communication with your clients is paramount for successful studio sessions. Understanding their vision, discussing ideas, and addressing any concerns will foster a collaborative environment where both parties are on the same page. Establishing rapport with your subjects will not only make them feel more relaxed but also enable you to capture genuine emotions that shine through in the final photographs.
Lastly, post-processing plays a vital role in refining studio portraits. Editing software like Adobe Lightroom or Photoshop allows photographers to fine-tune exposure levels, adjust colors, remove blemishes or distractions if necessary while maintaining a natural look. Developing a consistent editing style will help establish your unique artistic identity.
By mastering lighting techniques, composition strategies, posing skills, and effective communication with clients, freelance photographers can excel in the world of studio photography. Remember that practice makes perfect, so don’t be afraid to experiment and push your creative boundaries. With dedication and a passion for capturing captivating portraits, you can thrive as a freelance photographer specializing in studio settings.
Setting up your studio space
Studio Photography: A Guide for Freelance Photographers in Portrait Photography
Imagine you are a freelance photographer starting out in portrait photography. You have just secured your first client, Sarah, who wants a professional headshot for her LinkedIn profile. To deliver the best result possible, it is crucial to set up an effective and well-organized studio space.
To begin with, ensure that your studio has ample room to accommodate both you and your subject comfortably. This will allow for easy movement while positioning lights and capturing different angles. Additionally, consider installing soundproofing materials or choosing a quiet location to minimize external noise distractions during photo shoots.
Next, strategically arrange your equipment within arm’s reach to optimize workflow efficiency. By doing so, you can avoid wasting time searching for lenses or adjusting lighting setups between shots. Utilizing organizational tools such as shelves, hooks, and labeled storage containers can help maintain orderliness in your workspace.
Creating a conducive atmosphere is equally important when setting up your studio space. Incorporate elements that make clients feel welcome and at ease throughout their session. Here are some ideas:
- Soft background music playing discreetly
- Comfortable seating area with refreshments
- Thoughtful decor to enhance ambiance (e.g., artwork or plants)
- Well-lit dressing area equipped with mirrors and basic grooming essentials
By paying attention to these details, you can create an environment where clients feel valued and comfortable expressing themselves naturally in front of the camera.
As you embark on this exciting journey into studio photography, remember that setting up a dedicated space is only the beginning. In the subsequent section about “Choosing the right lighting equipment,” we will explore how proper lighting techniques can elevate the quality of your portraits even further.
Choosing the right lighting equipment
Having set up your studio space, the next crucial step in achieving stunning portraits is selecting the right lighting equipment. Let’s explore some key considerations to help you make informed choices.
Example: Imagine you are photographing a professional headshot session for a client who wants a classic and elegant look. To achieve this, you would need to carefully choose lighting equipment that allows for precise control over light intensity and direction while maintaining soft and flattering illumination on the subject’s face.
When it comes to selecting lighting equipment for your studio photography needs, keep in mind these important factors:
- Quality of Light: Look for lights that produce consistent color temperature and have high color rendering index (CRI) values. This ensures accurate representation of colors in your images.
- Power Output: Consider the wattage or power output of the lights based on your intended use. Higher wattages provide more flexibility in terms of adjusting brightness levels and working with modifiers.
- Modifiers Compatibility: Check if the lighting system supports various modifiers such as softboxes, umbrellas, beauty dishes, or grids. These accessories allow you to shape and control light according to your creative vision.
- Budget Constraints: Determine how much you are willing to invest in lighting equipment without compromising quality. While there are affordable options available, consider investing in reliable brands known for their durability and performance.
To further illustrate different aspects of lighting equipment selection, refer to the following table:
| Lighting Equipment | Pros | Cons |
|---|---|---|
| Strobe Lights | – Powerful | – Bulky |
| Continuous Lights | – Easy to see results instantly | – Generate heat |
| LED Lights | – Energy-efficient | – May have limited maximum power |
Transition into next section about understanding camera settings for studio photography: With an understanding of how essential lighting equipment is for capturing impressive studio portraits, it is equally important to grasp the nuances of camera settings. Let’s delve into this topic in the subsequent section.
Note: I have incorporated a transition at the end without using “step” as instructed.
Understanding camera settings for studio photography
After understanding how to choose the right lighting equipment, let’s now delve into mastering various lighting techniques for studio photography. By utilizing these techniques effectively, freelance photographers can enhance their portrait photography skills and capture stunning images that evoke emotions and tell compelling stories.
Example:
Imagine a scenario where you have a client who wants a dramatic and moody portrait. To achieve this effect, you would need to utilize specific lighting techniques that create shadows and add depth to the subject’s features. By employing proper lighting setups and modifiers, such as using a single key light positioned at a 45-degree angle with a softbox diffuser, you can control the intensity of the shadow areas while highlighting certain facial contours.
To further enhance your understanding of lighting techniques in studio photography, consider the following four bullet points:
- Rembrandt Lighting: This technique involves positioning the main light slightly above eye level and at an angle to create a distinct triangle-shaped highlight under one eye.
- Butterfly Lighting: Also known as paramount or glamour lighting, this technique uses a diffused light source placed directly in front of the model but slightly higher than their face to produce an appealing butterfly-shaped catchlight under the nose.
- Loop Lighting: In loop lighting, the primary light is angled about 30 degrees from center and slightly above eye level. It creates a small shadow of the nose on one side of the face without casting it onto the cheek.
- Split Lighting: Split lighting divides the subject’s face equally into two halves by illuminating only one side while leaving the other side in relative darkness.
Additionally, referring to this three-column table below will help you understand each technique’s characteristics better:
| Technique | Key Features | Suitable Subjects |
|---|---|---|
| Rembrandt | Creates triangular highlight under one eye | Portraits with defined facial features |
| Butterfly | Produces a butterfly-shaped catchlight under the nose | Fashion and beauty portraits |
| Loop | Creates a small shadow of the nose on one side | Portraits with softer features |
| Split | Divides the face into two halves by light and shadow | Dramatic or edgy portraits |
By familiarizing yourself with these lighting techniques, you will have more creative control over your studio photography sessions. Now let’s move on to exploring posing techniques for capturing stunning portraits.
With an understanding of various lighting techniques, photographers can now enhance their skills in portrait photography further by mastering effective posing techniques. Through thoughtful poses, subjects can convey emotions and narratives that truly captivate viewers.
Posing techniques for capturing stunning portraits
Transitioning from understanding camera settings to posing techniques, mastering the art of directing subjects is crucial for freelance photographers aiming to capture captivating studio portraits. Let us consider a hypothetical scenario where we have a client named Sarah, who wants a series of professional headshots for her acting portfolio.
To ensure that Sarah’s personality shines through in the photographs and create visually striking images, here are some essential posing techniques:
-
Expressive body language:
- Encourage Sarah to relax and be natural while maintaining good posture.
- Experiment with different angles and positions to find what flatters her features.
- Guide her in expressing emotions through subtle movements such as tilting the head or adjusting hand placement.
-
Facial expressions:
- Help Sarah convey various moods by suggesting specific emotions or thoughts.
- Prompt her to engage with the camera using eye contact or looking away deliberately.
- Capture both serious and playful expressions to showcase versatility.
-
Hand and arm positioning:
- Advise Sarah on how to position her hands elegantly without appearing stiff.
- Explore different gestures like resting chin on palm or gently touching the face.
- Incorporate props if necessary, ensuring they complement rather than distract from the portrait.
-
Body composition within the frame:
- Direct Sarah’s body orientation towards flattering light sources or desired focal points.
- Experiment with poses that emphasize curves, lines, or dynamic shapes based on the intended mood of each shot.
Using these posing techniques effectively can result in powerful portraits that truly reflect your subject’s unique qualities. By guiding them through expressive body language, facial expressions, hand and arm positioning, as well as mindful composition within the frame, you will elevate your photography skills and create compelling visual narratives.
In our next section about “Editing and retouching tips for studio photographs,” we will explore post-production strategies to enhance your studio portraits further.
Editing and retouching tips for studio photographs
Building on the foundation of capturing stunning portraits through effective posing techniques, mastering the art of editing and retouching is essential for freelance photographers in studio photography. By carefully refining and enhancing your photographs during post-processing, you can elevate them to a whole new level of visual appeal. In this section, we will explore some valuable tips that will help you enhance your studio photographs with precision and finesse.
Example:
To illustrate the impact that editing and retouching can have on a studio photograph, let’s consider an example. Imagine you’ve taken a portrait shot in your studio where the lighting was slightly off, resulting in unwanted shadows on the subject’s face. Through skillful editing techniques, such as adjusting highlights and shadows or using frequency separation to address skin imperfections, you can easily correct these flaws and create a more polished final image.
Tips for effective editing and retouching:
- Maintain consistency: Ensure that all images within a series maintain consistent color balance, exposure levels, and overall style, creating a cohesive look.
- Enhance details selectively: Pay attention to small details like eyes, hair strands, or clothing textures when applying sharpening or clarity adjustments.
- Use non-destructive editing methods: Utilize tools like adjustment layers or masks to make edits without permanently altering the original image data.
- Experiment with different styles: Explore various creative effects like black-and-white conversions or split toning to add artistic flair to your studio photographs.
| Editing Tips | Description |
|---|---|
| Consistency | Maintain consistent color balance, exposure levels, and overall style across images within a series |
| Detail Enhancement | Enhance specific details like eyes, hair strands, or clothing textures |
| Non-Destructive Editing | Make edits using adjustment layers or masks without permanently altering the original image data |
| Creative Effects | Experiment with different styles, such as black-and-white conversions or split toning |
As you embark on the journey of refining your studio photographs through editing and retouching techniques, remember that these tools serve to enhance the already strong foundation laid during the photoshoot. By carefully applying adjustments while preserving authenticity, you can create visually stunning images that captivate viewers.
With a solid understanding of both posing techniques and post-processing skills for studio photography, it’s time to explore how to effectively market and promote your services. Let’s delve into strategies that will enable you to reach potential clients and showcase your talent in this competitive industry.
Marketing and promoting your studio photography services
Section H2: Marketing and Promoting Your Studio Photography Services
Having mastered the art of editing and retouching for your studio photographs, it is now essential to focus on effectively marketing and promoting your services. By employing strategic techniques, you can ensure that potential clients are aware of your expertise and talent in portrait photography.
Paragraph 1:
To begin with, establishing an online presence through a professional website or social media platforms is crucial in today’s digital age. A well-designed website acts as a virtual storefront, allowing potential clients to browse through your portfolio and get a glimpse of your skills. Utilizing social media platforms such as Instagram and Facebook can also significantly boost your visibility within the target demographic. For instance, consider creating engaging posts showcasing before-and-after images of edited photos alongside compelling captions that highlight the transformative power of your work.
Bullet point list (evoking emotional response):
- Showcasing testimonials from satisfied clients on your website or social media profiles.
- Offering exclusive promotions or discounts for first-time customers.
- Providing exceptional customer service by promptly responding to inquiries and addressing concerns.
- Collaborating with local businesses or influencers to expand your reach.
Paragraph 2:
In addition to online strategies, networking plays a vital role in expanding clientele for freelance photographers like yourself. Attending industry events, workshops, or photography exhibitions provides opportunities to connect with other professionals in the field who may refer clients to you. Furthermore, actively participating in relevant online communities or forums allows you to build relationships with fellow photographers and potentially gain exposure through word-of-mouth recommendations.
Table (evoking emotional response):
| Benefits of Networking | Examples |
|---|---|
| Exchange knowledge | Sharing editing techniques at photography meetups |
| Collaborative projects | Team up with makeup artists for styled shoots |
| Referral opportunities | Receiving client referrals from other photographers |
| Industry recognition | Being invited as a guest speaker at a photography conference |
Paragraph 3:
Ultimately, marketing and promoting your studio photography services requires consistency and innovation. Regularly updating your portfolio with fresh content not only showcases your versatility but also keeps potential clients engaged. Consider offering free consultations or hosting workshops to establish yourself as an industry expert. Remember, cultivating relationships within the photography community and continually refining your marketing strategies are key factors in building a successful freelance business.
By implementing these marketing techniques alongside the skills you have honed in editing and retouching, you can attract diverse clientele and solidify your position as a sought-after portrait photographer.
Comments are closed.